
A well-crafted pedalboard is the secret weapon of many guitarists. It’s your portal to a world of sonic possibilities, allowing you to sculpt your guitar tone in ways that can be both subtle and dramatic. In this step-by-step guide, we’ll walk you through the process of building your own guitar effects pedalboard. Whether you’re a beginner or a seasoned player, you’ll find valuable tips to help you create a setup that unleashes your creativity and elevates your sound.
1. Define Your Sound
Before you start buying pedals, have a clear vision of the sound you want to achieve. Do you prefer clean tones, heavy distortion, or ambient textures? Your musical style and goals will determine the pedals you need.
2. Select the Essentials
Start with the basics. Essential pedals typically include a tuner, overdrive/distortion, delay, and reverb. These form the core of your sound, so choose them wisely.
3. Consider Your Signal Chain
The order of your pedals matters. A common signal chain for electric guitar is tuner > wah > compression > overdrive/distortion > modulation (chorus, phaser) > time-based effects (delay, reverb). Experiment to find your ideal chain.
4. Power Supply
Invest in a quality power supply to avoid noise and ensure consistent power for your pedals. Choose one that can accommodate your current and future pedal collection.
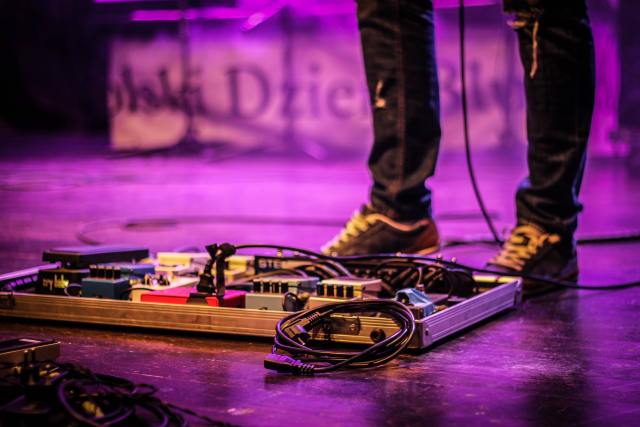
5. Cables and Patch Leads
Use high-quality cables and patch leads to connect your pedals. Well-made cables minimize signal loss and noise. Keep your setup neat and organized.

6. Pedalboard Selection
Choose a pedalboard that fits your pedals comfortably. Consider a slanted board for better visibility and access to your pedals during a performance.
7. Velcro or Pedalboard Tape
Attach your pedals securely to the pedalboard using Velcro or pedalboard tape. This makes it easy to rearrange pedals or replace them as needed.
8. Set Your Pedal Parameters
Dial in the settings on each pedal to achieve your desired sound. Experiment with different settings to find the sweet spots for your playing style.

9. Test Your Setup
Before a gig or recording session, thoroughly test your pedalboard. Ensure all pedals are functioning correctly, and there are no unwanted noises or issues.
10. Practice and Experiment
Once your pedalboard is set up, spend time practicing with it. Experiment with different combinations and effects to unlock your creativity.
Conclusion
Building your guitar effects pedalboard is a rewarding journey that can enhance your playing and sound. By carefully selecting pedals, organizing your signal chain, and fine-tuning your setup, you can create a pedalboard that is uniquely yours. Remember, it’s not just about having a collection of pedals; it’s about crafting your sonic identity as a guitarist. So, dive in, explore, and let your pedalboard be an extension of your musical expression.
With your pedalboard in place, you’ll have the tools to shape your sound and take your guitar playing to new heights.