There are a lot of creative ways to display your photos, especially with technology and software readily available for seasoned pros and newbies alike. That being said, one of the most original ways to showcase a huge number of photos is with a photo mosaic! In this article, we’ll explore what a photo mosaic is, how to make your own, different styles, and how to proudly display your own mosaic picture artwork!


💡What Is A Photo Mosaic?
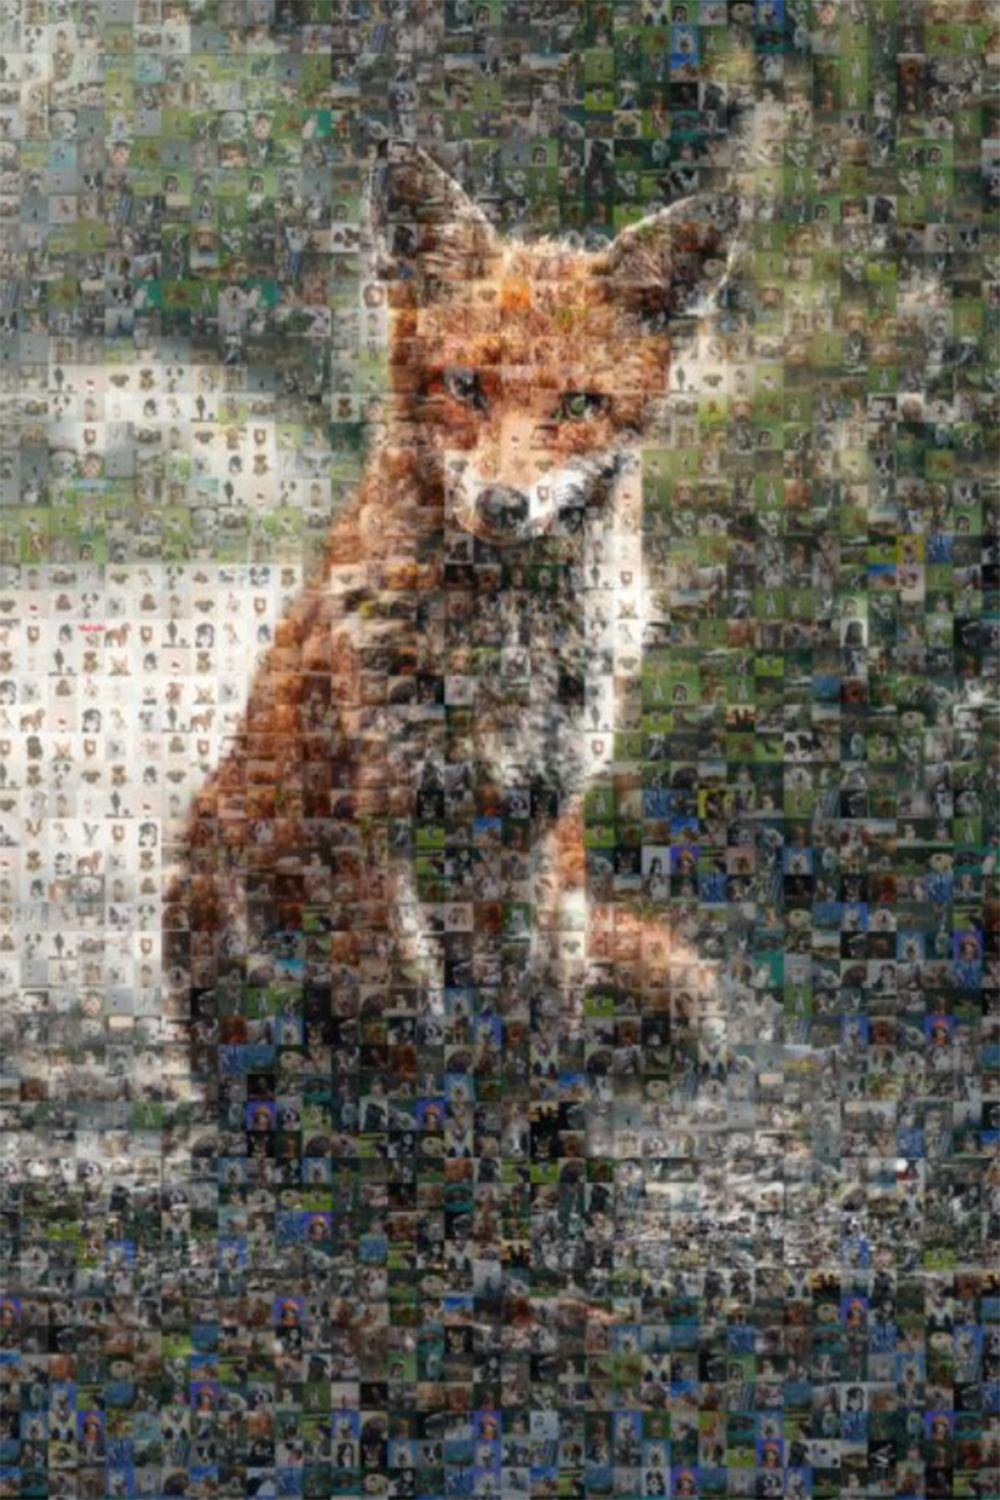
A photo mosaic is a large image made up of many smaller images. The smaller images, placed throughout a canvas, are grouped together in a collage of similar colors or patterns to form a separate image. In some cases, image tone or color may be manipulated or digitally enhanced to bring out certain patterns or shapes that form the larger picture. These mosaics have become especially popular because you can easily display a huge number of pictures, making it efficient and fun to showcase your favorite memories.


🎨 Style & Inspiration
Your creativity, photo library (you’ll likely need at least 100 photos for a smaller, basic image), and software are the limit here, so don’t be afraid to use new combinations of photos and colors to create something truly unique and memorable! If you’re feeling overwhelmed by the options, or if you have tons of photos you want to showcase, consider multiple photo mosaics with each having a specific theme of photo collections:
- 🏖 Vacations
- 🎓 School photos
- 🐶 Pets
- ❤️ Friends
- 👩👧 Family members
- ❄️ Seasons
- 🌲 Nature
- 🏈 Hobbies
Additionally, for a designer touch, you could group photos together based on color, tone, or mood. The options are endless so experiment with combinations until you find the perfect look!


💻 Photo Mosaic Software
Once you’ve selected your photos, you’ll need software or an online program to insert your photos into your mosaic and organize them into a larger image. Luckily there are plenty of programs available to help you, plus because they’re user-friendly, you don’t need any special skills to get started! Some of the more well-known sites that offer mosaic picture services include:
- picturemosaics.com
- mosaically.com
- mosapics.com
- turbomosaic.com
Additionally, if you’re working from your phone, there are a number of both free and paid apps available (like Pro Photo Mosaic Creator for iPhone or Mosaic Photo Effects for Android) that allow you to create photo mosaics. And if you’re an Adobe Photoshop user, you can make your own memorable photo mosaics with that software as well. Although this method may be a bit more work, you’ll have more control over the fine-tuning of your artwork (especially if you want to digitally manipulate the color or tone of the photos in your mosaic).


🖼 How To Frame Your Mosaic Picture
Whether you’ve printed your mosaic or you have a digital file, it’s important to frame your creativity and favorite memories so you can enjoy them for years to come. Luckily, we have several fantastic frame options sure to suit any decor scheme! For a more modern look, you’ll want a thinner face frame with a thicker matboard like our Hanover frame. For a more traditional vibe, our Derby frame is a popular option, and it comes in a variety of finishes that’ll complement your mosaic art! Or if you’re after something with a dash of elegance, you’ll love our Granby frame in Gold or Antique White.
Found the perfect frame and matboard combination? Head over to our interactive frame designer to select your options! If you’ve printed your art, simply enter your artwork size, select your cover options (we offer both a standard acrylic and a non-glare acrylic cover) and we’ll ship a custom frame right to your doorstep. If you have a digital file, upload your image to our frame designer, choose your cover and paper options (both photo paper and art paper are available) and we’ll print, frame, and ship a ready-to-hang mosaic picture directly to you.


🧭 Where To Display Your Mosaic Picture
Now that you’ve framed your mosaic, it’s important to think about where you’ll place your new artwork. If you have a single mosaic to display, try to center it over a piece of furniture like a couch or table, ideally 6″-12″ above it. If you have more than one to display, you’ll want to consider a gallery wall to showcase your collection. The center of your gallery wall should be about 57″ from the ground, with at least 1″ separating each frame.
Our frames come with all the hanging hardware you’ll need to get going! So once you’ve found the perfect location, just hammer the hook & nail into the wall, then hang your picture frame from the wire off the hook. For larger wood frames you’ll get wall buddies (an extra piece of hanging hardware that will prevent bowing). Simply place the wall mounts on the wall, and drape the wall buddies over them.


🎬 Final Thoughts
Most of us have more pictures than we know what to do with – that’s why photo mosaic art is the perfect solution! It’s a fun way to turn hundreds of smaller images into a giant picture that’ll look awesome framed and proudly displayed above your fireplace, desk, couch, or on a striking gallery wall! We hope this has given you plenty of inspiration to get creative with your photos and design amazing mosaic pictures, so don’t forget to share them with us on social media!

And before you go, don’t miss our photo manipulation tutorial video below for awesome tips to add a little flair to your pictures 👇